Showing posts with label Gifting. Show all posts

Monday, June 24, 2013

30 Beers for 30 Years Birthday Gift Sampler

It's been a few months since my husbands big 30th birthday but I finally got around to blogging about it. As most of you have probably discovered, gift giving for guys can be tough! No they don't want ties... or socks... or really anything from the stores I like shopping at! My guy loves gadgets and computer stuff but I don't speak geek. For instance, the one time I tried to buy a computer game for my dad who likes "Fantasy" type games... I accidentally got him a kids game. I guess I don't know how to tell the difference between adult games with elves and kids games with elves. Lol!

But beer. Beer is always a win in our house! So if your guy is like mine then consider making him a beer sampler with the number of beers to match the number of birthdays! We have a store called Specs that sells individual beers so I came up with the idea of 30 Beers for 30 Years! I was pretty proud of myself... if you can't tell. And if you would like to avoid your kitchen counter being taken over by the beer rating system, go ahead and type up a spreadsheet or download a beer app on his phone so your guy can rate them and remember which ones he liked. That's part of the fun!


The Sampler idea could translate to an easy gift idea for any member of the family too. Have a mom that likes tea and coffee? Give her a sampler of exotic tea bags or k-cups if you have a Tassimo coffee machine. Does your dad like gardening? You could give a Seed Sampler to the green thumb in your family. Samplers are fun! And they're a gift that keeps on giving!

Wednesday, September 5, 2012

Football Taggie Blanket

Ever since we found out that we are having a little boy I have had all things boy on the brain! I finally finished my first project for the little man and just in time for football season! I've been determined to make him a football blanket and since my husband is a Notre Dame fan and I am a Navy fan I added blue and gold taggies for us both! 


What You Need
*Brown bumpy fabric (1 yard)
*Soft white fabric (1/4 yard)
*fabric glue
*ribbons
*thread

First thing I did was fold the fabric in half and sew a line along the inside for my first seam. No cutting!

Then I folded the blanket corners under to make a decent football shape.

I traced my football shaped and folded into fours so I could trim and make all sides even


I cut 2in strips of my white fabric and used fabric glue to pinch the edges together and form a center line down the under side of the fabric


I used my form as a guide to place my white fabric, pinned it in place and sewed it down.


Now, here comes the fun creative part I am really excited about! I wanted to flatten out the bumps outside of the football outline so I simply ironed them out leaving a bumpy football and a flat exterior. Be careful not to iron out the bumps on the backside of your fabric though! Also, don't let your fabric get too hot or it could discolor. Iron a few swipes, let cool and go again until flat.

Cut 6 in ribbons, use fabric glue to make them into 3 in loops and space evenly on fabric. 


The finished result isn't perfect but I really love it and hope you do too!!!


Wednesday, July 25, 2012

Hand Stamped Wine Glass Charms

So, I know it looks like I haven't done anything for a month but I actually have a few projects waiting to be posted. Since two of them were gifts, I figured I should give them away before posting them online!

My sister-in-law got married this weekend and we decided to give them a pair of nice Crystal glasses for toasting at their wedding. Since I don't know how to blow glass, and I'm sure it would be disastrous in so many ways if I tried, I decided to leave that to the professionals and I made some wine charms instead. =)

I found this great 6 minute tutorial that shows you how quick and easy the project really is! I practiced on a notepad for spacing (as shown in the tutorial above) then on one of the circles to see how hard I needed to hit the stamps. After that, line up the stamps and hammer away! It really was that simple!

What You'll Need
*Hammer
*Beads
*Earring loops 
*Letter stamp punch set 
*Circular stamping blanks (pendant)
*Steel bench block 
(I found everything at Hobby Lobby and after using their 40% off coupon spent less than $20!)

 I used a small sticky note as a guide so my letters would be straight. You can also write the letter on the note if you are concerned about spacing. 
 After I finished stamping...
 I strung some alternating purple and clear beads along with my pendant and VOILA! 

 A great wedding gift and, if they hate it, they can easily take it off and just use the glasses! =)

Sunday, May 27, 2012

Teacher Appreciation Apple Gift Basket

J just had her last day of school so my craft this week was an apple themed teacher appreciation gift. I made these cute apple cupcakes but if you want an alternative you can always buy cupcakes pre-made and decorate them or go to a Chocolate store like Rocky Mountain Chocolate Factory where they sell candy and caramel apples!

What You Need
*Cupcake mix
*Frosting
*Red cupcake liners
*Red sprinkles
*Pretzel sticks
*Green candy for the leaves (I used sour apple belts)
*Crystal Light Appletini Mix
*Travel cup w/ lid
*2 Apple scented foam soaps (B&BW)
*Tissue paper
*Basket/ Container (Hobby Lobby)
*Optional: I found the painted, apple cutouts I used for name plates at Hobby Lobby for .99

I made my cupcakes with this recipe and used Duncan Hines Frosting Creations in Caramel for the frosting.  
 In the spirit of recycling (and saving money), I used empty bottle bottoms to pack each apple individually.
 The bottle containers fit perfectly in the plastic gift bags I found at Walmart. I finished them off with some apple themed ribbon I had on hand.
 Here are all of the basket contents:


 All ready to go! Thanks Ms. Rhonda and Ms. Carmen!!!

Tuesday, March 13, 2012

Week Ten: Taffy Rainbow & Pot of Gold St Patrick's Treat

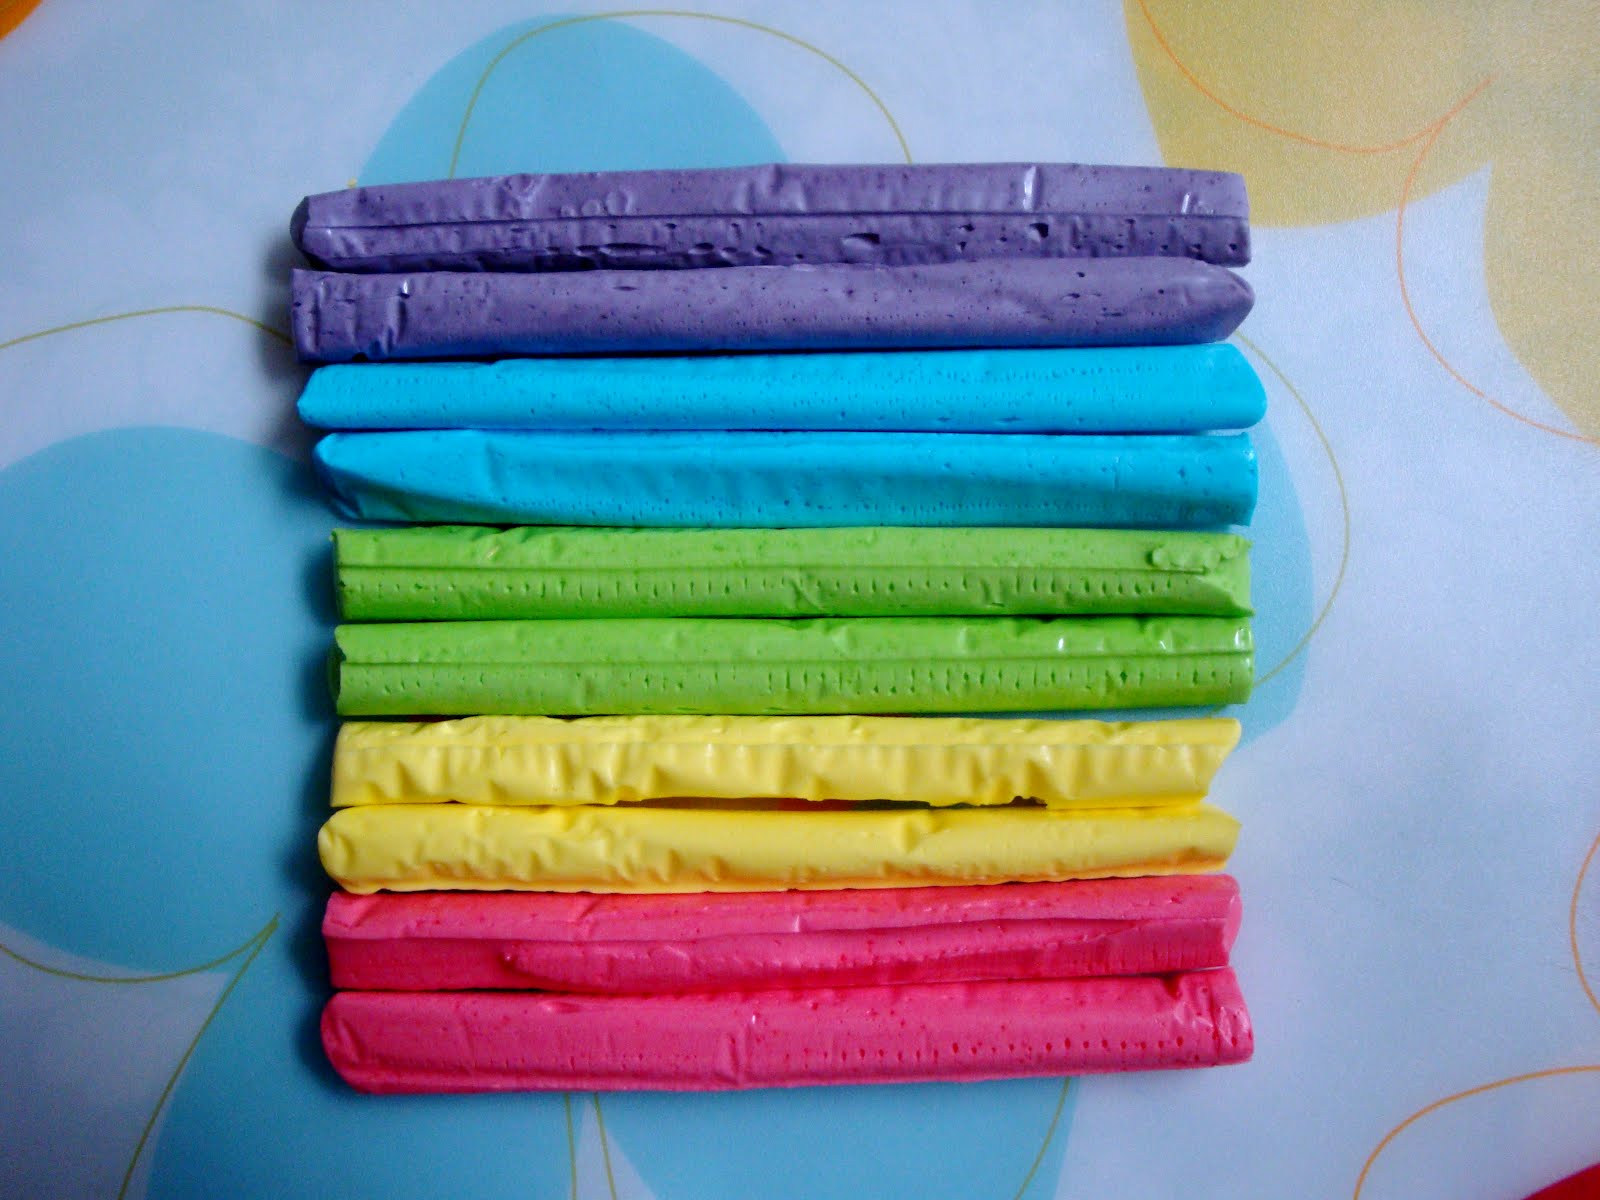
Ok, so I didn't post by the weekend, as promised, but at least I am done with my St. Patrick's Day craft early!!! That means tere is still time for you to get crackin! I mean, what toddler wouldn't love a sweet, taffy rainbow with a chocolately pot of gold? Who am I kidding? What adult wouldn't?


I saw a similar post on Pinterest using rainbow licorice but I prefer Laffy Taffy. It's easier to cut in half and, lucky me, it was on sale for 5 for $1! This will give you enough for two bags and will, in theory, reduce the bouncing-off-the-walls-from-too-much-sugar-toddler-psychosis! I also put a ribbon, hair clip on top instead of a "Happy St. Patrick's Day" label since, well, my two year old can't read! =)

What You Need
*Skinny Laffy Taffy in multiple colors
*Chocolate coins
*Snack sized ziploc bags
*Hair ribbon/ label/ stickers for decorating

I simply opened the Taffy (carefully so it doesn't break) and cut it in half.
Place in snack sized ziploc bag, fold the zipper part under and tape.
I clipped the hair clip on the zipper part behind the candy and DONE!

Tasty, cute and it only cost $3 for two bags full! And for the adults in the house, I am going to give these Irish Car Bomb Cupcakes a go! Happy St. Patrick's Day! Oh, and if anyone pinches you... feel free to slap them with your Laffy Taffy! =)

Friday, February 3, 2012

Week Five: Valentine's For Toddlers

J had a little Valentine's Day party with her neighborhood playgroup this Friday so, of course, I had to make Valentine's. I really can't help myself. I saw these cute little butterfly snacks on Pinterest and thought they would make a great valentine for toddlers! Since they can't read, I skipped the cute saying and made it all about the goodies! All you need are snack sized ziploc bags, clothes pins, paint, treats and pipe cleaners! J had a great time painting the clothes pins and, I will admit, I had a great time assembling them! I do love being a stay at home mom!