So, last week I made a key chain from another tutorial and, well, I kinda botched it. My fault for not following directions at some points and being lazy at other. Anyway, I decided I just couldn't go out like that so this week I am not only making another key chain but coming up with my own tutorial as well! Haha!!! Take that key chain! Ahem.
After last weeks key chain mishap I decided I needed something with a little more personality. I saw this really cute stuffed fabric
strawberry and thought... hey, I can do that. I just so happen to be a lover of all things sweet and that is when the cupcake key chain was born. I also had perfect fabric for it already from another project so yay for no trip to the store! Hope you like it!
What You Need
*3 fabrics (I used felt for the tan cake and the rest is cotton)
*Red pom, button, another fabric for cherry
*Filler (just so happens my daughter broke into one of her pillows and pulled all the filler out the other day. Guess she knew I would need some.)
*Key ring
*Double sided iron on interface
*Typical sewing hoohah (scissors, thread, needle)
And we're off to make some calorie free cupcakes...
Base fabric dimensions: 4 1/2 in x 2 1/2 in for the side and the circle was 1 1/2 in around.
Place the base side with the right sides together and sew like so...
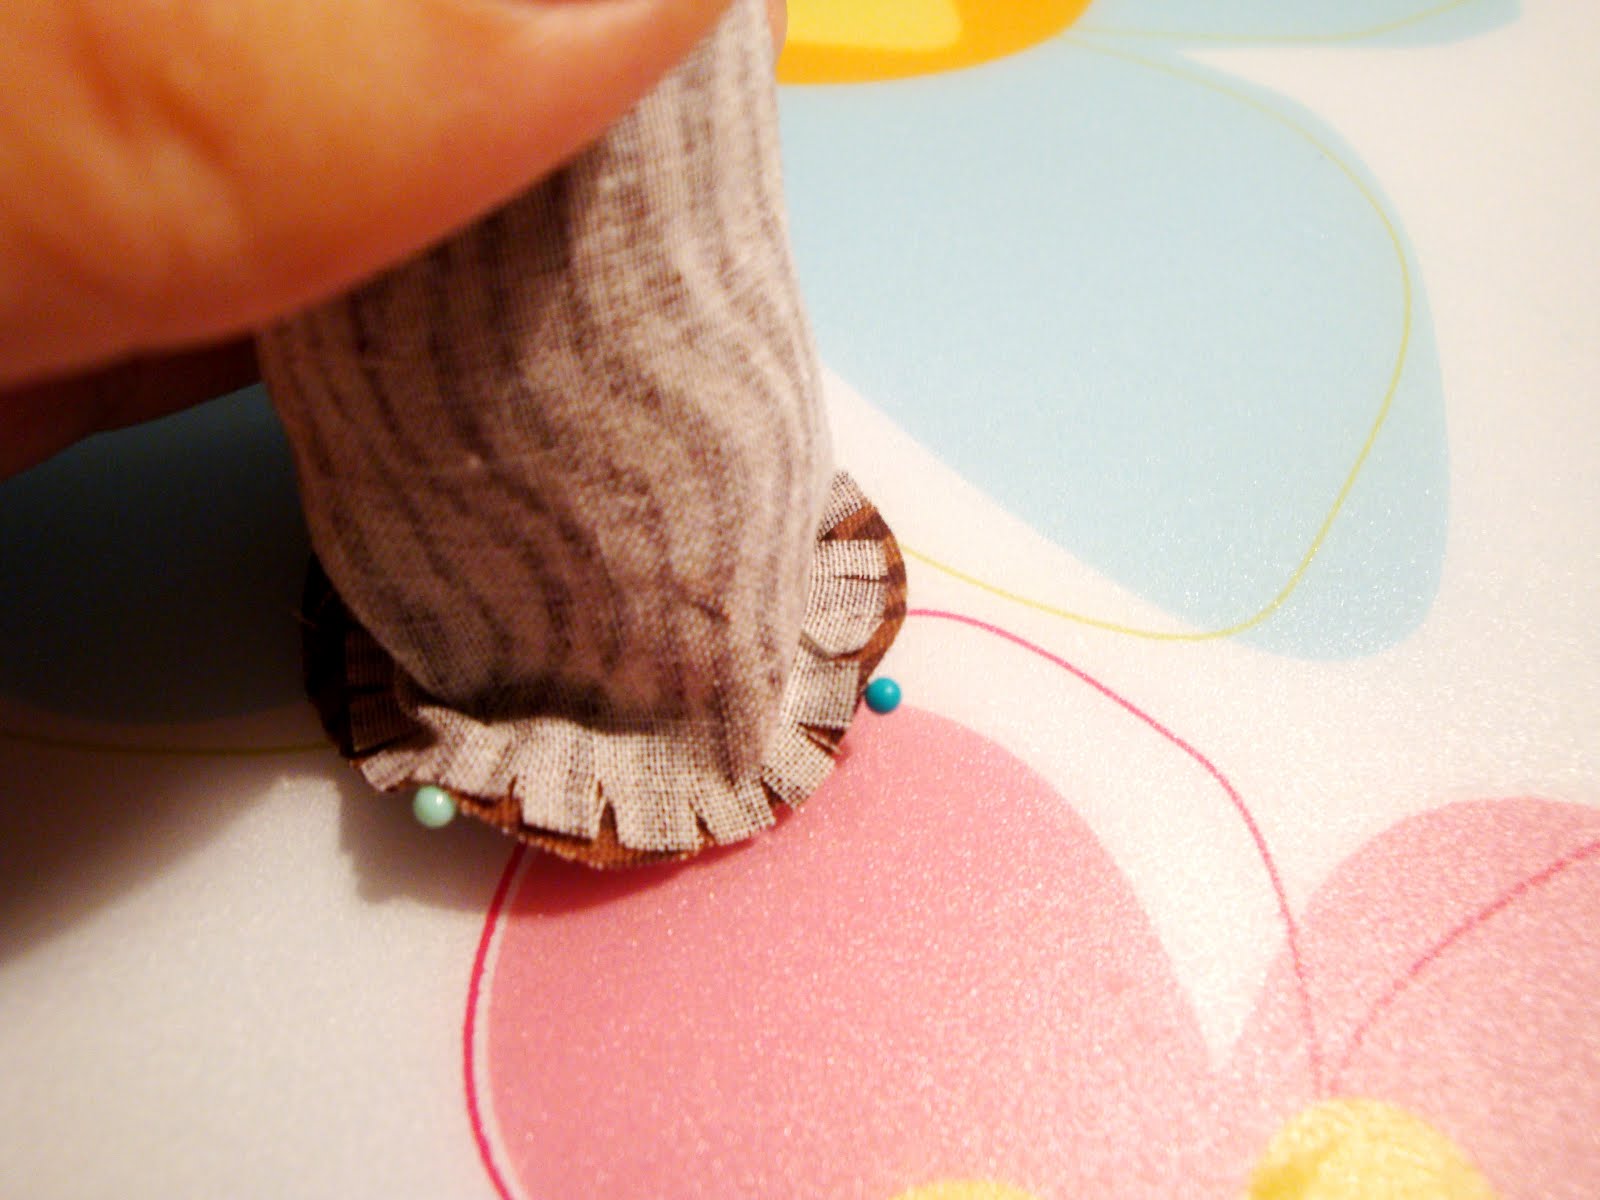
Now, attaching the circle is tricky so hang in there! I found the tutorial at Sew Mama Sew, so if I lose you feel free to check out her more detailed description. Cut little slits around the edge that will attach to the round base.
I filled my base temporarily to make it easier to pin the circular bottom on.
Pin your circle on with 4 pins.
Remove filling and sew around the edges ABOVE the slits. You don't want holes in your cupcake!
Turn inside to check and... hey, there! Looks round to me!
Phew! Moving on... cut your cake top approximately the size of a Guiness glass. For those of you who don't have a Guiness glass... shame on you. Just kidding. Cut a circle about 3 1/4 inches around.
Put a row of basting stiches around the edges of your cake top, pull and gather.
Place your icing on a double sided fusible web. Cut to size.
Iron on the frosting and sew on the pom cherry
Sew or fuse together your keychain strap... does this look like bacon to anyone else? I must be hungry.
Place the felt top inside the base so the right sides are together
Hand sew three quarters of the cupcake leaving enough space to turn it right side out
Hand sew the remainder adding the bacon... I mean key chain loop.
There. Now you have a sugary treat look-a-like to taunt you everywhere you go.