
So, it turns out, that spending hours looking at cool craft and DIY ideas on Pinterest does not a crafty person make. In light of this recent revelation, and the pressure of a New Years resolution still looming overhead, I have combined said problems and... a blog was born! The plan is one craft a week, big or small, to keep the creative juices flowing. And, we're off!
My craft of the week is all about organization! Our tiny entry way closet has an even tinier triangular shelf on top that has been making me crazy since the day we moved in! As you can see in the before picture below, there has been a rectangular box hanging off the edge and overflowing with wires for, oh, only two and a half years! Oh, the shame! Of course, my husband assures me that all of those wires are necessary and important so the ideal of pretty-by-purging, turns into the ugly stepsister, hoarding-and-hiding. But, I digress...
So, here we go! A super simple DIY project to take one big ol box and make it fit in that awkward, triangular space!

The most important thing is to measure the length of the widest part of the shelf and make sure the front of your box is a few inches shorter. How many inches will depend on how large the shelf is but in general the bigger the box the more inches shorter. For instance, for a shelf that is 20 inches across, I made the box front 17 inches, so three inches shorter. My shelf, pictured below, is 31 inches so made the box front 26 inches, which is 5 inches shorter.

Well, hey there box that's been sitting around my house...

Cut off one of the smallest sides.


Cut open the bottom if it is taped.


Now, cut off the top flaps.

Fold the three sides together until the back point is a 90 degree angle. You will need a 90 degree angle for it to fit correctly on the shelf.
One side should be about two inches longer than the other so you can overlap as shown right by my hand.
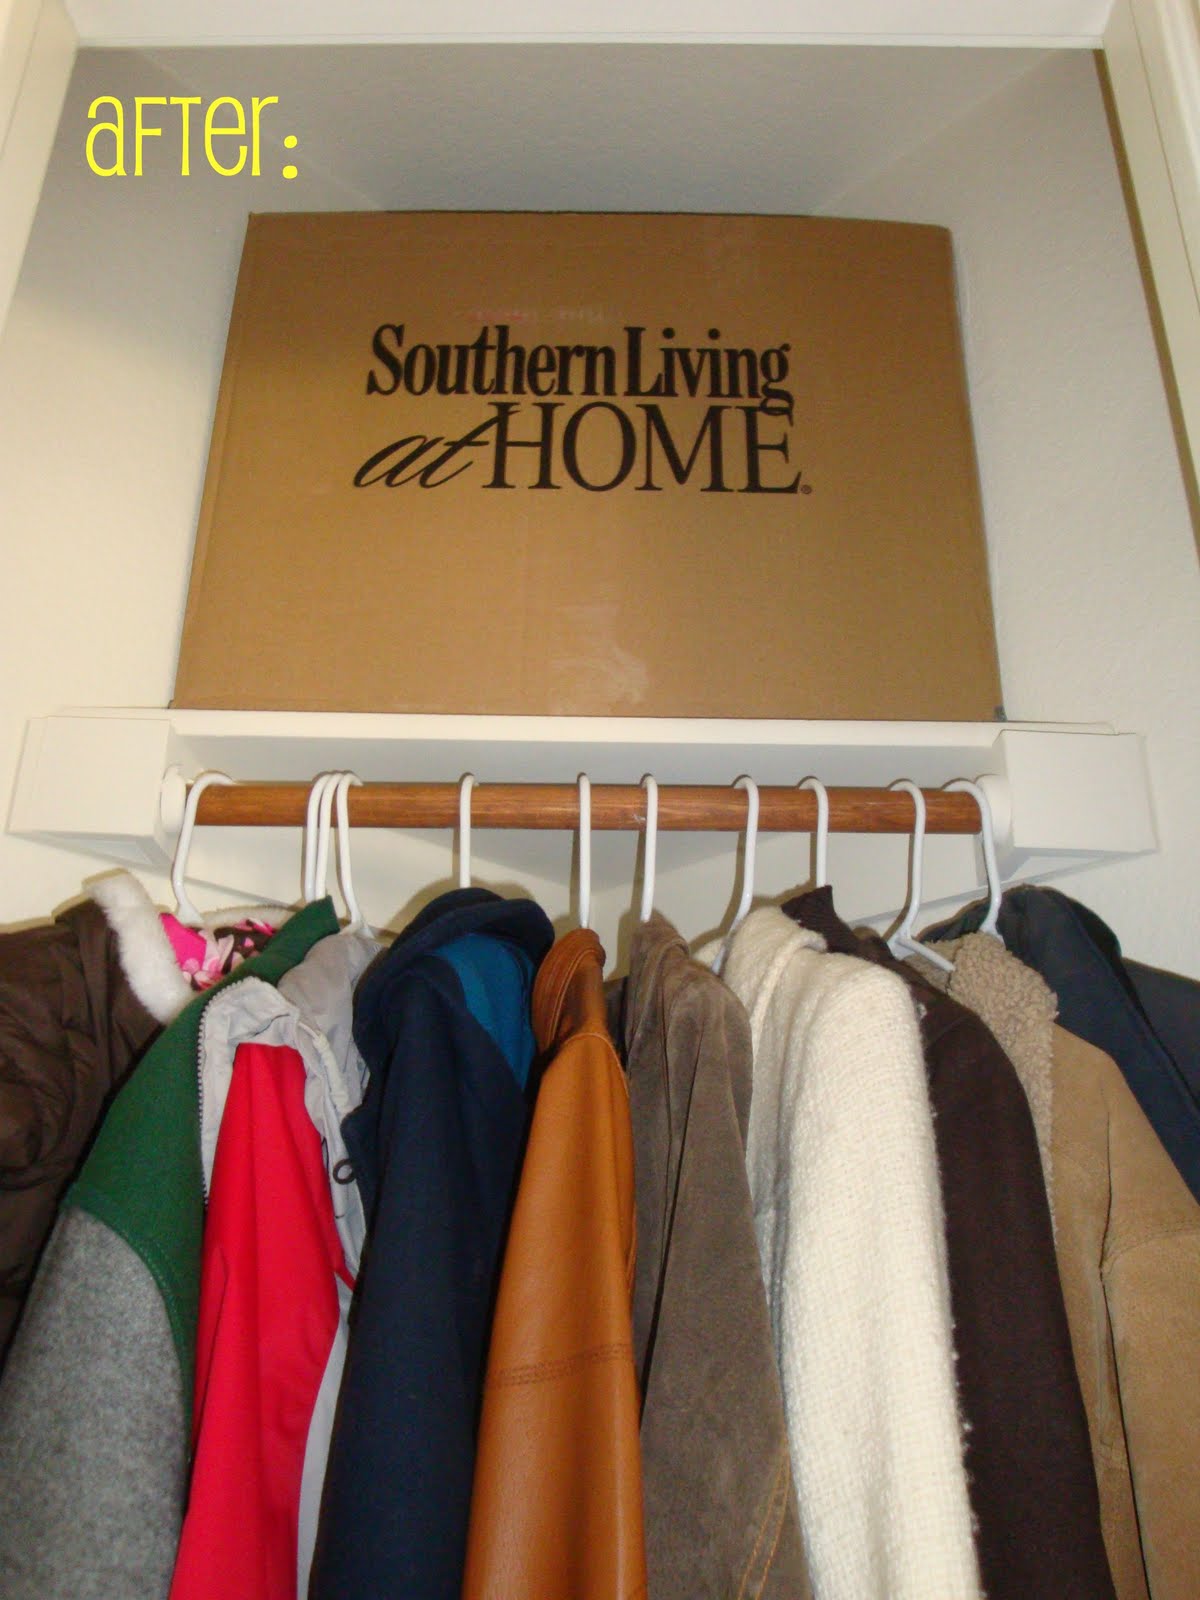
Make sure you have that 90 degree angle, tape that sucker together and... VOILA!!!

Mine sits just an inch and a half from the edge of the shelf!


(Oh and the step by step pictures are from a smaller box I did previously just in case you were wondering how I got my box to grow and sprout a name!)
Next week, I will do a tutorial for covering your box with fabric because, though it fits now, it's still a not so pretty brown box!!!
Very clever!! Oh, and I also like the sight of Sean's ND Glee Club jacket hanging next to Jordan's little winter jacket!
ReplyDelete