Monday, June 18, 2012

Toddler Towel Wrap

My thoughtful and loving husband gave me a hot pink towel Snuggie last year as a gift and it has remained in the packaging on the shelf ever since. Don't get me wrong, I love me some hot pink, but head to toe with long sleeves seemed a little excessive. So, in my compulsion to find a use for all the things we have around the house, I decided to make J a towel wrap for the pool. She's always trying to wrap our big towels around herself like I do but, being that she is quite a bit smaller than me, she doesn't make it very far.

What you Need
*Lightweight towel fabric
*Matching thread
*Velcro
*1 1/2 in thick elastic

(Keep in mind that the dimensions will depend on the size of your child so make sure to do your measurements and alter as necessary!)

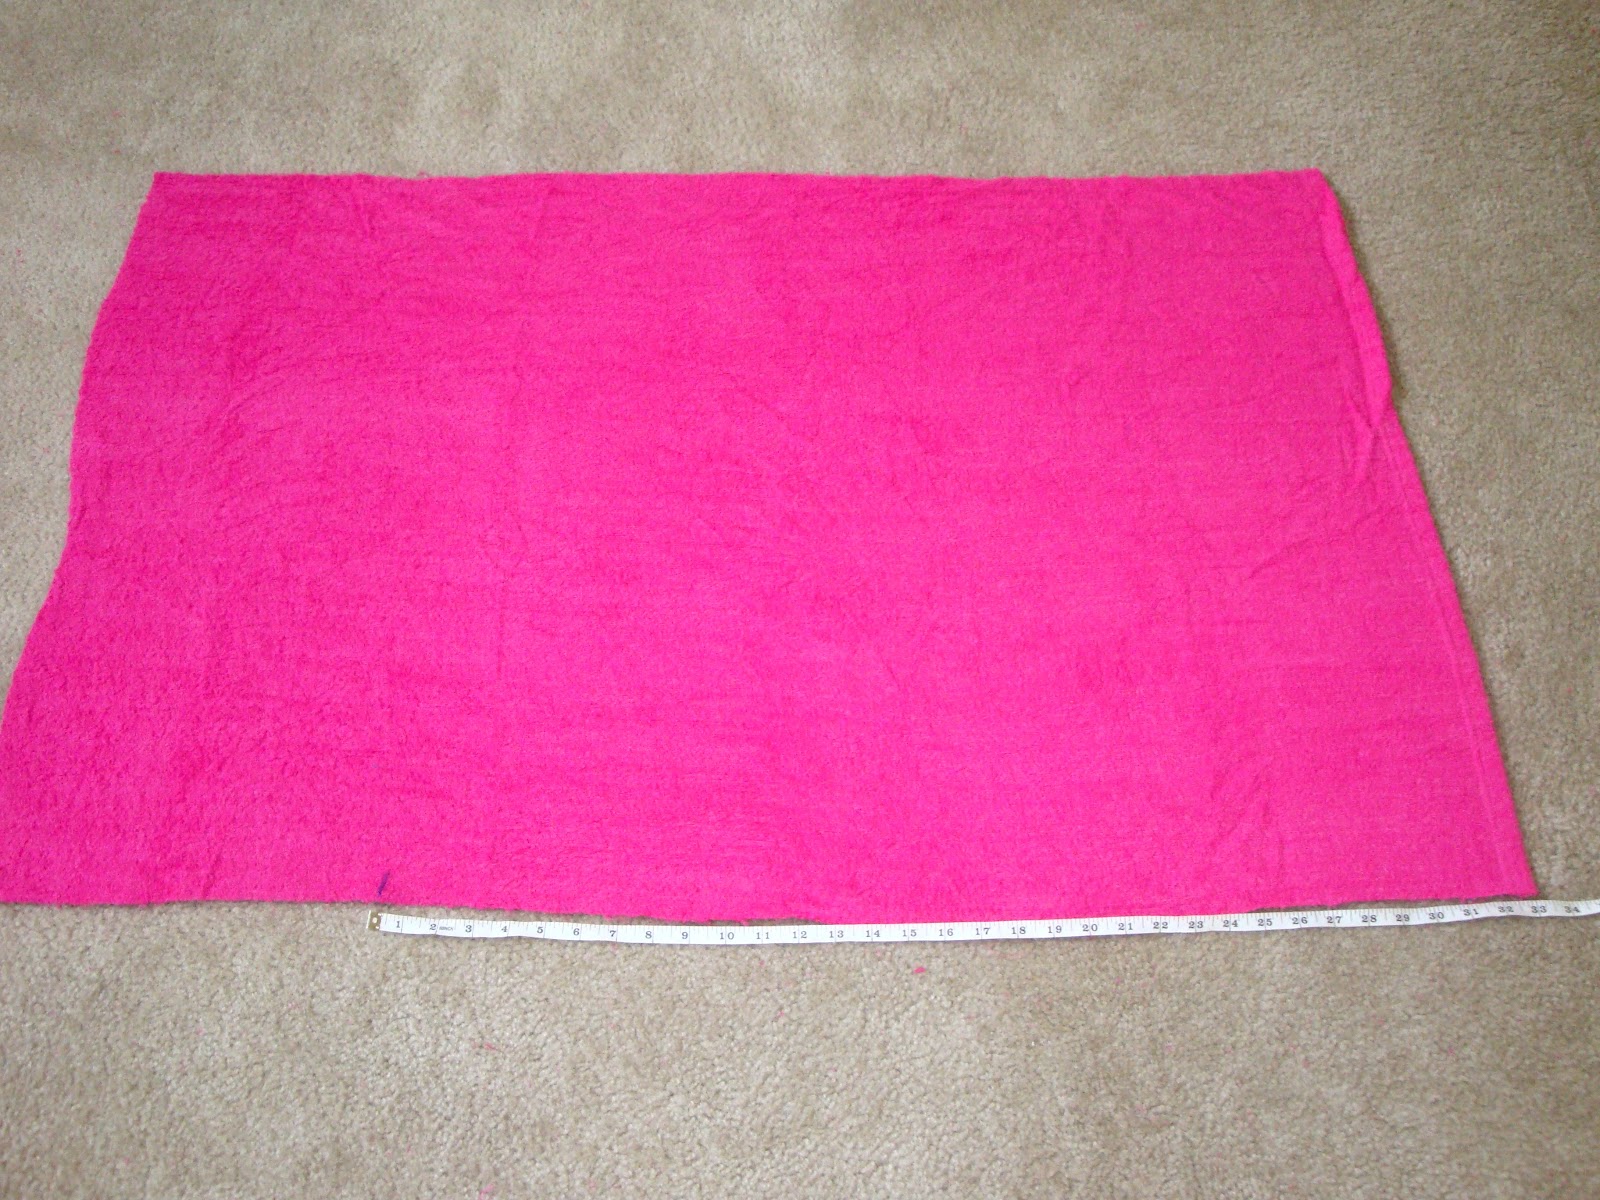
First I measured J's chest which was 19 inches around. 
I cut my fabric to 33 x 26 inches with one side and the bottom already hemmed (so add an inch to each if you are starting with a completely unfinished fabric.)
Then hem the top with a two inch sleeve for your elastic. Pull your elastic through and sew in place along the already hemmed side. I sewed a box with a cross through it to hold the elastic. 
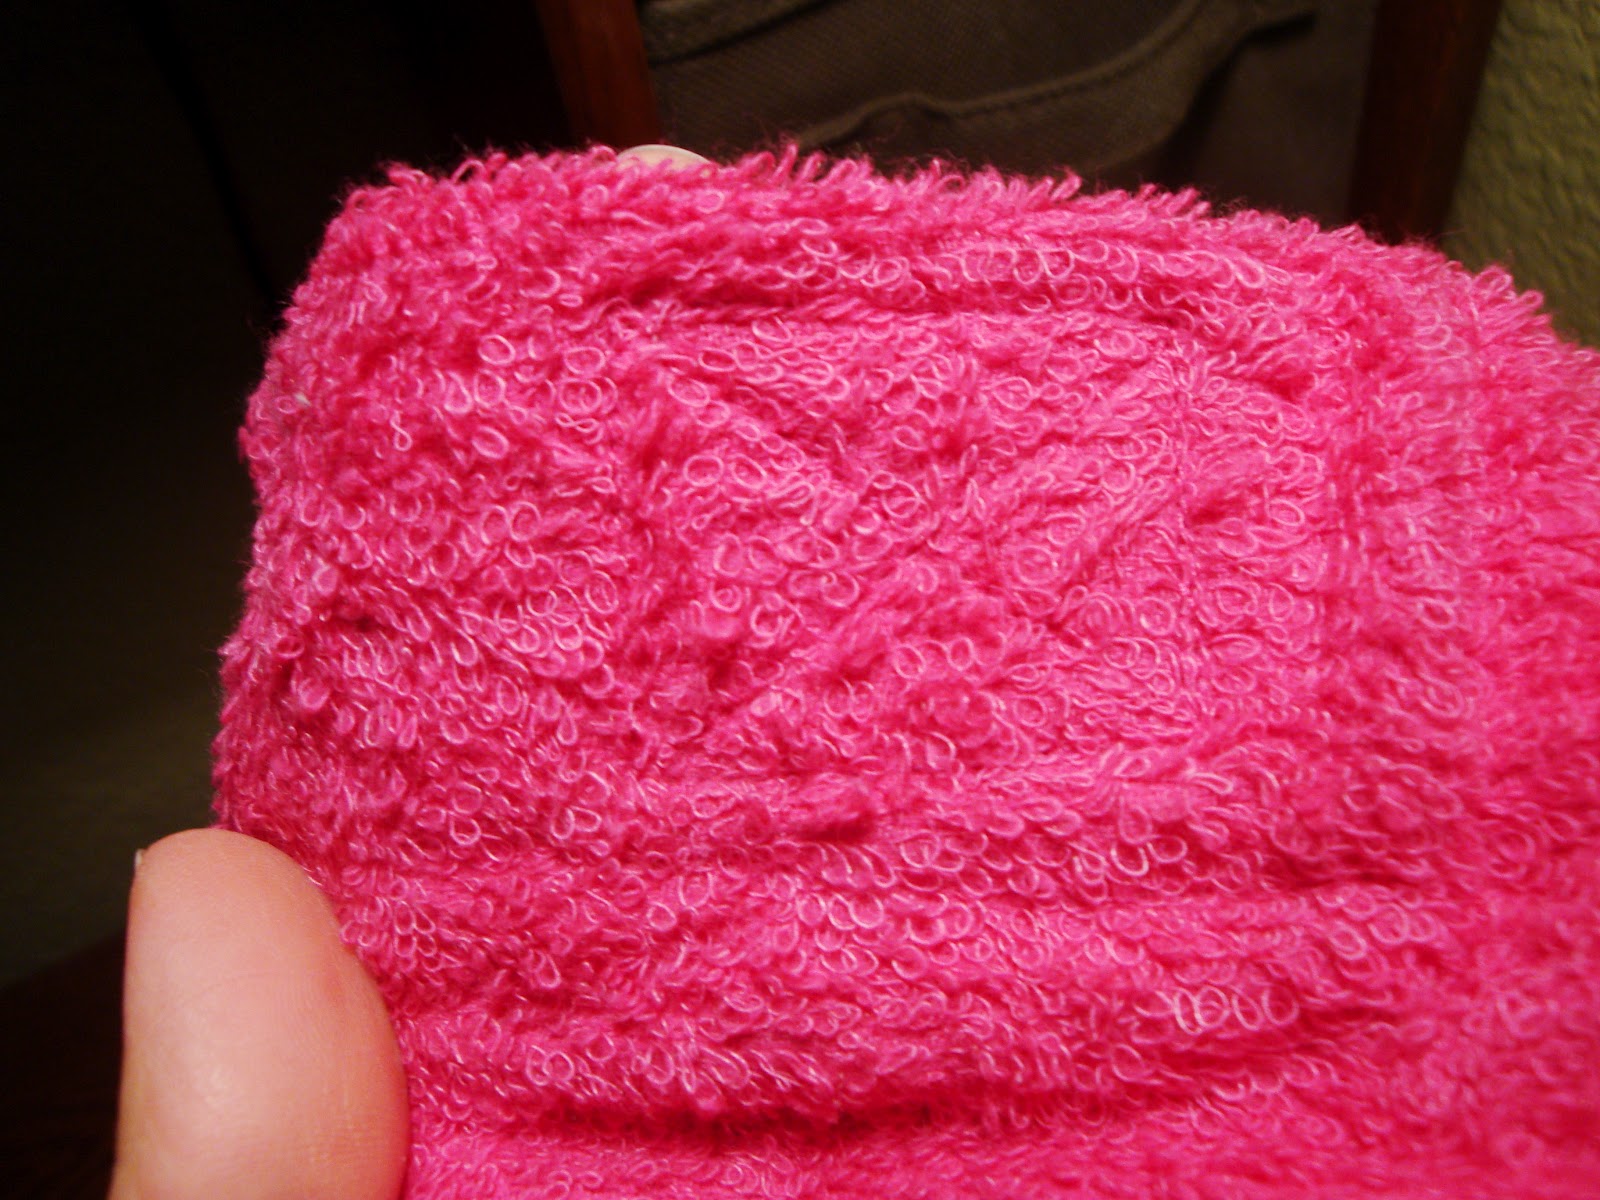
 Bunch up the elastic to the desired amount and sew the other end of the elastic in place.
 Then hem your unfinished length. (You can also add a colorful ribbon if you don't want your towel to be so plain.) My length and width turned out to be about 24 inches unstretched. 
Add your velcro once you are finished all of the other steps. And if you want straps, add them last. My straps unhemmed(right) were 12 x 3 inches.

J looks happy here but she actually didn't like the towel wrap at all the start with. She kept saying "Not pretty, Mommy." Lol! But, I'm happy to report, that after 2 or 3 weeks... she's getting used to it! I may need to add a Barbie patch or something! =)

Sunday, May 27, 2012

Teacher Appreciation Apple Gift Basket

J just had her last day of school so my craft this week was an apple themed teacher appreciation gift. I made these cute apple cupcakes but if you want an alternative you can always buy cupcakes pre-made and decorate them or go to a Chocolate store like Rocky Mountain Chocolate Factory where they sell candy and caramel apples!

What You Need
*Cupcake mix
*Frosting
*Red cupcake liners
*Red sprinkles
*Pretzel sticks
*Green candy for the leaves (I used sour apple belts)
*Crystal Light Appletini Mix
*Travel cup w/ lid
*2 Apple scented foam soaps (B&BW)
*Tissue paper
*Basket/ Container (Hobby Lobby)
*Optional: I found the painted, apple cutouts I used for name plates at Hobby Lobby for .99

I made my cupcakes with this recipe and used Duncan Hines Frosting Creations in Caramel for the frosting.  
 In the spirit of recycling (and saving money), I used empty bottle bottoms to pack each apple individually.
 The bottle containers fit perfectly in the plastic gift bags I found at Walmart. I finished them off with some apple themed ribbon I had on hand.
 Here are all of the basket contents:


 All ready to go! Thanks Ms. Rhonda and Ms. Carmen!!!
As you may have noticed, if you actually pay any attention to my blog, I have been a little MIA for a few days. a few weeks. ok, fine, two months! But I have plenty of excuses! The main excuse being that I have finally gotten through my first trimester of pregnancy!!!

That's right baby number two is on it's way, and with a vengeance it seems. I was feeling pretty sick there for a while but as I am heading into my second trimester this week, I am feeling much better and ready to take on some new projects! I already have tons of ideas swimming through my head so keep an eye out for what's to come! Thanks so much to all of my readers for your patience! I promise to get back to crafting, I'm sure with quite a few baby designs to feature!

Sunday, March 18, 2012

Week Eleven: Dress to Toddler Skirt

I've been meaning to get into my box of clothes that don't fit me anymore and do some re-purposing. Kids clothes are so expensive so why not use some old clothes, that are in good shape still, into kids clothes? And I had the perfect dress to use for St Patrick's Day!

An old dress that doesn't fit me anymore but was way to cute to just get rid of!
I started by cutting off the top.

I measured my length to 11 inches. Add another two for hemming the bottom and adding the elastic to the top.

Cut to length...

Sew the sides to desired width. I only sewed at the top because I wanted to leave the liner separate but go ahead and sew all the way to the bottom. I used another one of J's skirts as a template.
Create a hem, large enough to fit your elastic, with openings at the end. Put a safety pin on the end of the elastic to help pull it through, then sew your two pieces of elastic together and close the fabric opening.
Hem the bottom of your skirt.
And you have a skirt!

Finally, add a cute little Irish girl!!! Happy St. Patrick's Day!


Tuesday, March 13, 2012

Week Ten: Taffy Rainbow & Pot of Gold St Patrick's Treat

Ok, so I didn't post by the weekend, as promised, but at least I am done with my St. Patrick's Day craft early!!! That means tere is still time for you to get crackin! I mean, what toddler wouldn't love a sweet, taffy rainbow with a chocolately pot of gold? Who am I kidding? What adult wouldn't?


I saw a similar post on Pinterest using rainbow licorice but I prefer Laffy Taffy. It's easier to cut in half and, lucky me, it was on sale for 5 for $1! This will give you enough for two bags and will, in theory, reduce the bouncing-off-the-walls-from-too-much-sugar-toddler-psychosis! I also put a ribbon, hair clip on top instead of a "Happy St. Patrick's Day" label since, well, my two year old can't read! =)

What You Need
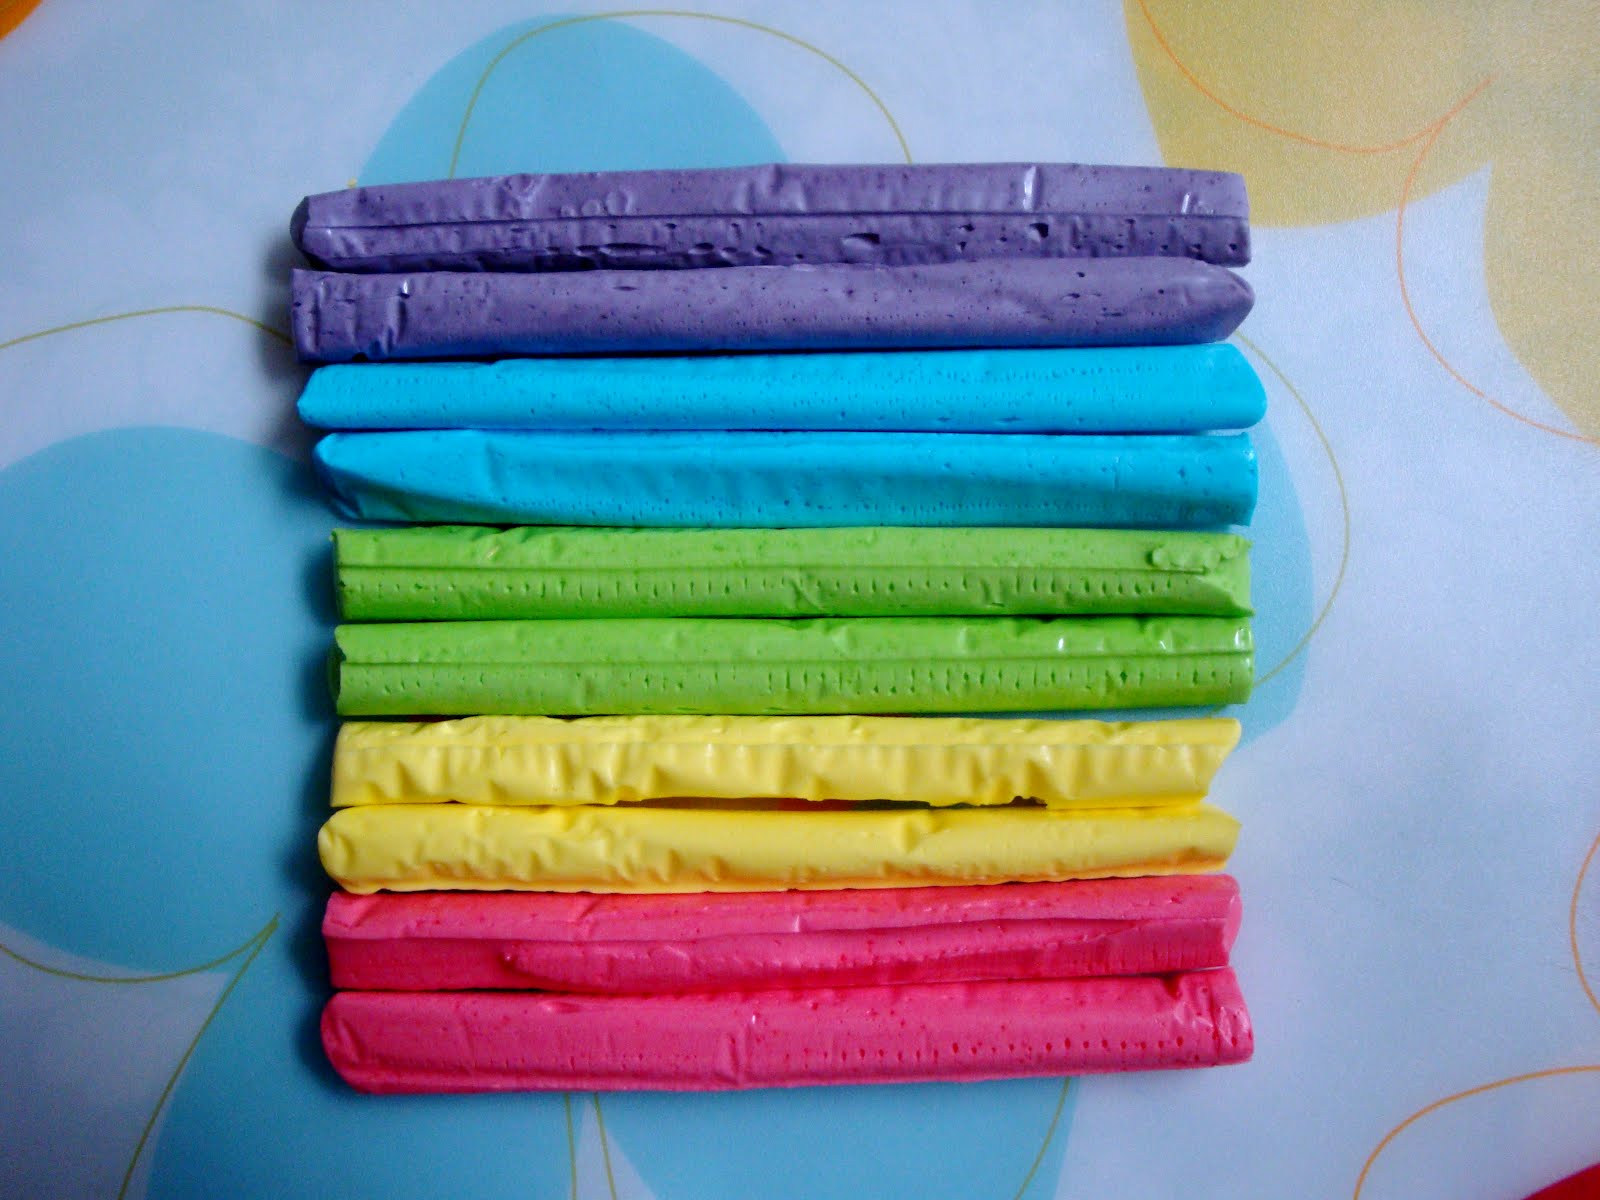
*Skinny Laffy Taffy in multiple colors
*Chocolate coins
*Snack sized ziploc bags
*Hair ribbon/ label/ stickers for decorating

I simply opened the Taffy (carefully so it doesn't break) and cut it in half.
Place in snack sized ziploc bag, fold the zipper part under and tape.
I clipped the hair clip on the zipper part behind the candy and DONE!

Tasty, cute and it only cost $3 for two bags full! And for the adults in the house, I am going to give these Irish Car Bomb Cupcakes a go! Happy St. Patrick's Day! Oh, and if anyone pinches you... feel free to slap them with your Laffy Taffy! =)

Sunday, March 4, 2012

Week Nine: Fabric Cupcake Keychain

So, last week I made a key chain from another tutorial and, well, I kinda botched it. My fault for not following directions at some points and being lazy at other. Anyway, I decided I just couldn't go out like that so this week I am not only making another key chain but coming up with my own tutorial as well! Haha!!! Take that key chain! Ahem.

After last weeks key chain mishap I decided I needed something with a little more personality. I saw this really cute stuffed fabric strawberry and thought... hey, I can do that. I just so happen to be a lover of all things sweet and that is when the cupcake key chain was born. I also had perfect fabric for it already from another project so yay for no trip to the store! Hope you like it!


What You Need
*3 fabrics (I used felt for the tan cake and the rest is cotton)
*Red pom, button, another fabric for cherry
*Filler (just so happens my daughter broke into one of her pillows and pulled all the filler out the other day. Guess she knew I would need some.)
*Key ring
*Double sided iron on interface
*Typical sewing hoohah (scissors, thread, needle)

And we're off to make some calorie free cupcakes...

Base fabric dimensions: 4 1/2 in x 2 1/2 in for the side and the circle was 1 1/2 in around.
Place the base side with the right sides together and sew like so...
Now, attaching the circle is tricky so hang in there! I found the tutorial at Sew Mama Sew, so if I lose you feel free to check out her more detailed description.
Cut little slits around the edge that will attach to the round base.
I filled my base temporarily to make it easier to pin the circular bottom on.
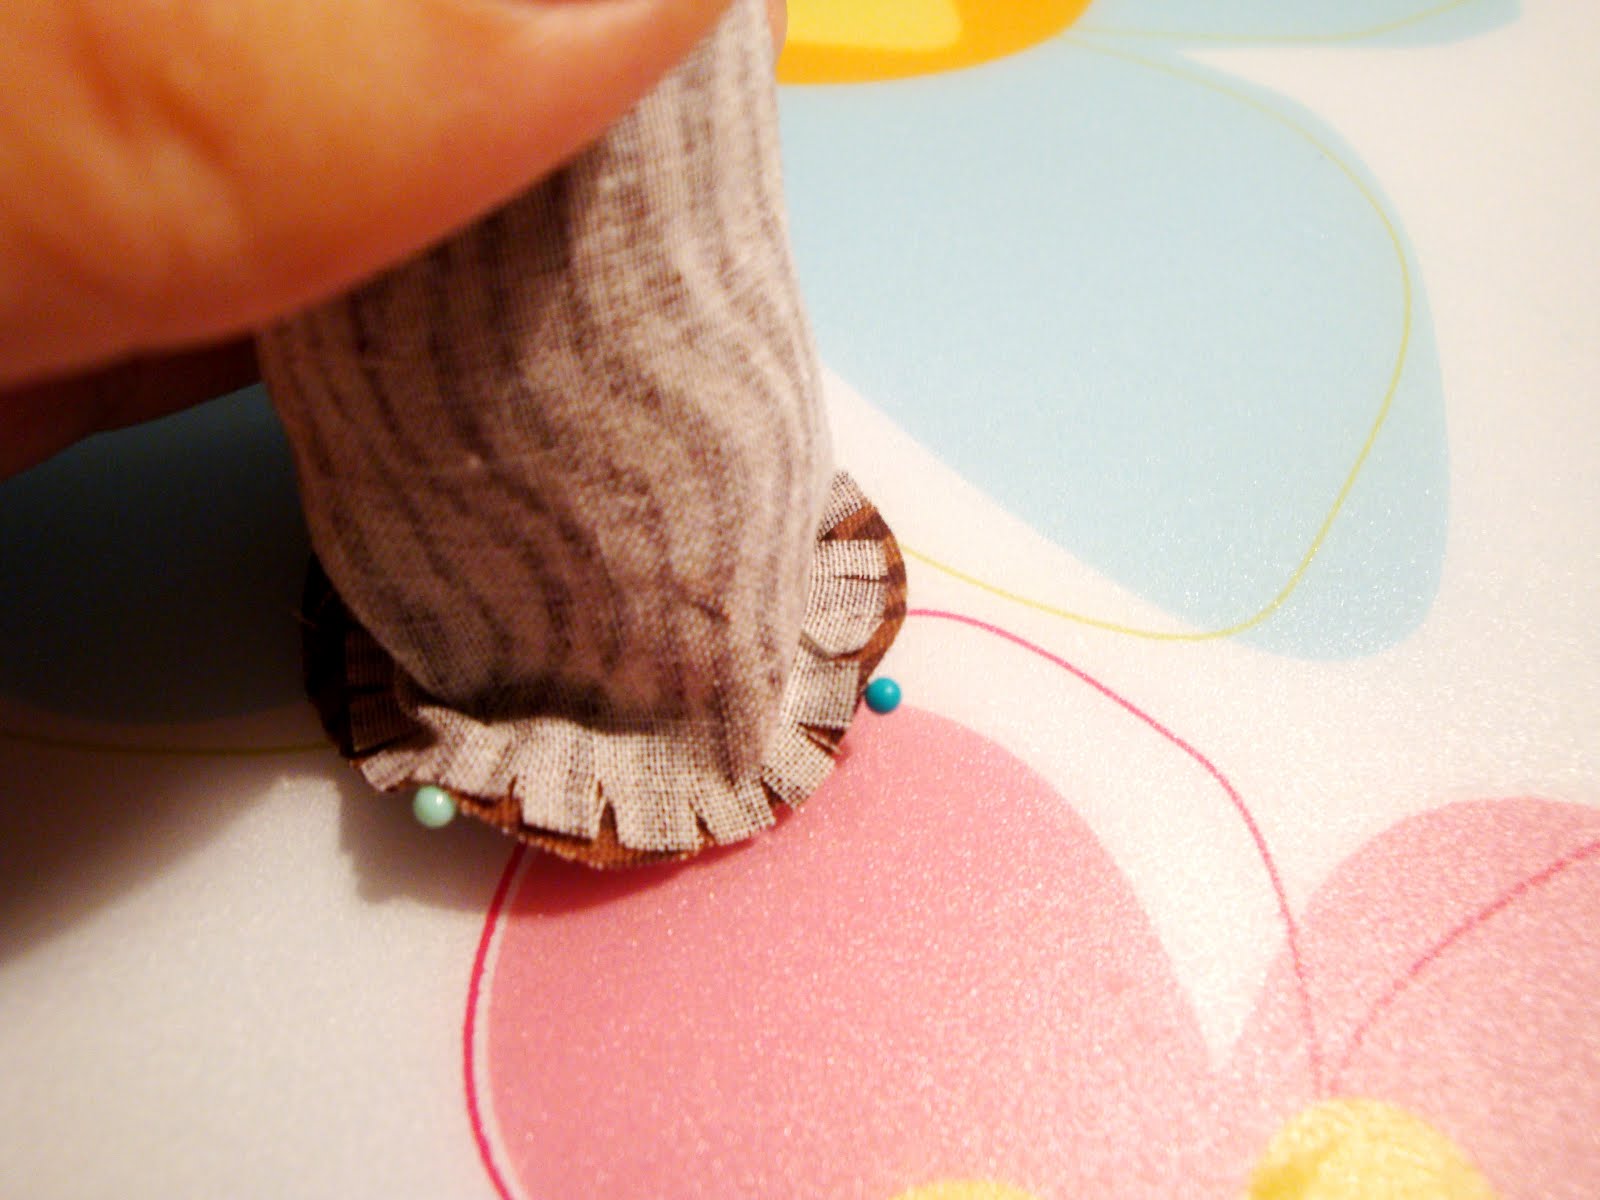
Pin your circle on with 4 pins.
Remove filling and sew around the edges ABOVE the slits. You don't want holes in your cupcake!
Should look like this...
And this...
Turn inside to check and... hey, there! Looks round to me!
Phew! Moving on... cut your cake top approximately the size of a Guiness glass. For those of you who don't have a Guiness glass... shame on you. Just kidding. Cut a circle about 3 1/4 inches around.
Put a row of basting stiches around the edges of your cake top, pull and gather.
Place your icing on a double sided fusible web. Cut to size.
Iron on the frosting and sew on the pom cherry
Sew or fuse together your keychain strap... does this look like bacon to anyone else? I must be hungry.
Place the felt top inside the base so the right sides are together
Hand sew three quarters of the cupcake leaving enough space to turn it right side out
Hand sew the remainder adding the bacon... I mean key chain loop.
There. Now you have a sugary treat look-a-like to taunt you everywhere you go.

Saturday, February 18, 2012

Week Seven: Faux Pinch Pleat Curtains

About a year and a half ago I made these curtains for our living room. I used a super simple design since it was my first attempt at curtains but after looking at them I wish I had done a little something decorative at the top. Then I came across a tutorial showing how to make simple slide on drapes look like they are pleated with easy clip on rings! The tutorial also shows you how to make the curtains themselves if you're feeling ambitious!

My curtains before all bunched up...
These clip rings were about $5 for a pack of 10 at Ikea. They are plastic but you won't see them!
Space and place them evenly across your drapes


And enjoy a whole new look without having to buy or make all new curtains!!!